Expenses User Guide – Create Expense Claim
This section of the expenses user guide outlines how an expense claim is created. Once an expense claim has been created then expense entries can be added to the expense claim, each expense entry is one expense amount which is being reclaimed from the business.
Step One – Go to the Expenses Application
From the left hand menu list select Expense Claim.

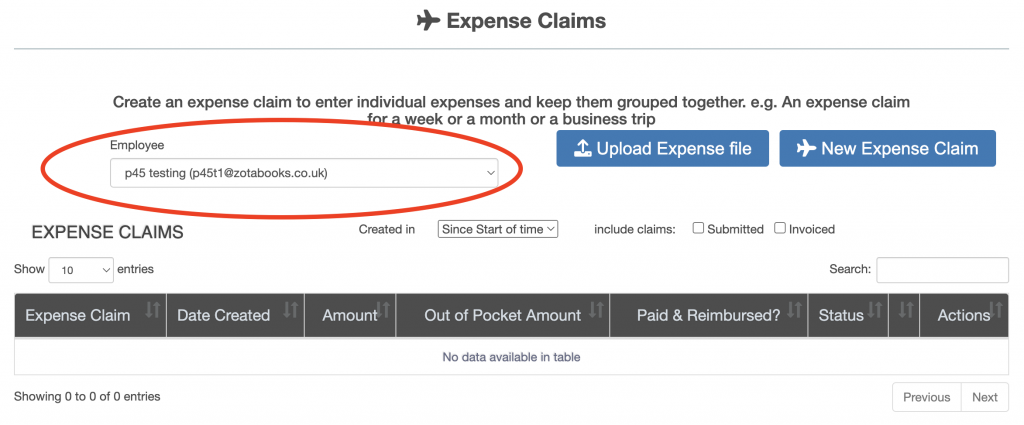
Step Two – Select Person for Whom Expense Claim is to be Entered
Top left hand of the screen is a user name drop down list, select the user for whom the expense claim is to be created for.
Depending on the user permissions, the list may contain:
- current logged in user only.
- list of users for whom the current logged in user may create an expense claim for.
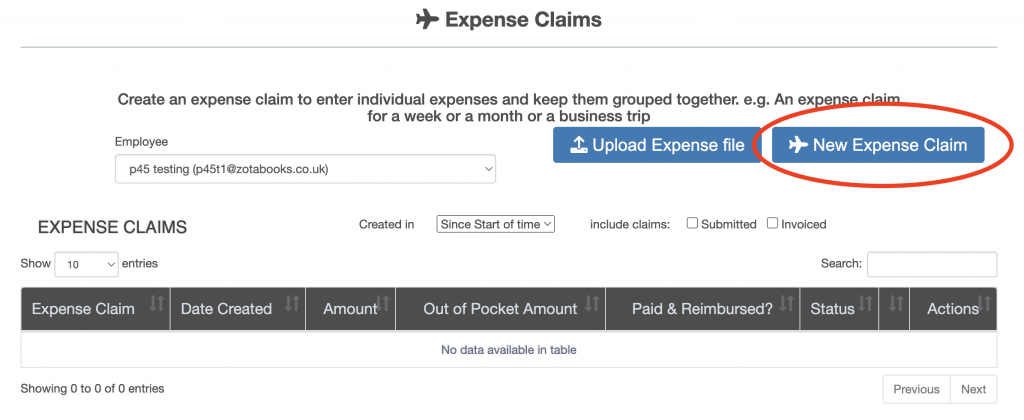
Step Three – Press “New Expense Claim” Button
Once the individual for whom an expense claim is to be entered is selected press the “New Expense Claim” button. An expense claim groups expenses together, these can be any sort of grouping (for example, for a day, a week, a month, or any other grouping).
Enter an expense title (for example, August 2022 Expenses), then an expense description (for example, All expenses incurred during the month of August 2022), then press the “Save” button, then the “New Expense Item” button (circled in red below).