Expenses User Guide – Mark Expense Claim as Paid
Once an expense claim has been submitted, the claim should be reviewed and once approved the amount due to the employee should be paid back to the employee. Once the monies have been paid from the company bank account to the employee bank account for an expense claim, the expense claim is to be marked as paid to employee.
How do I Mark an Expense Claim as Paid
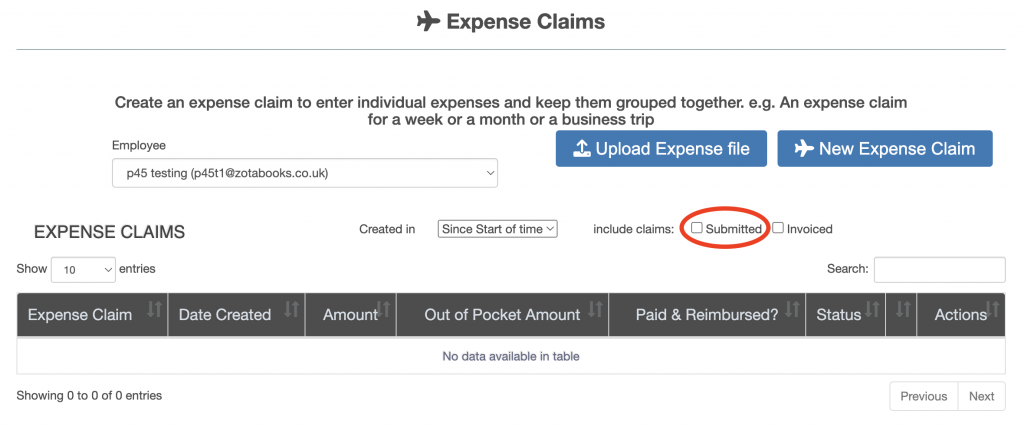
Select “Expense Claim” from the left hand menu, the list of expense claims are displayed. Tick the “Submitted” option to display a list of expense claims which are submitted, these are ready to be paid.
After selecting the submitted tick box option a list of expenses which are in the state “Submitted” are displayed, see red box below.
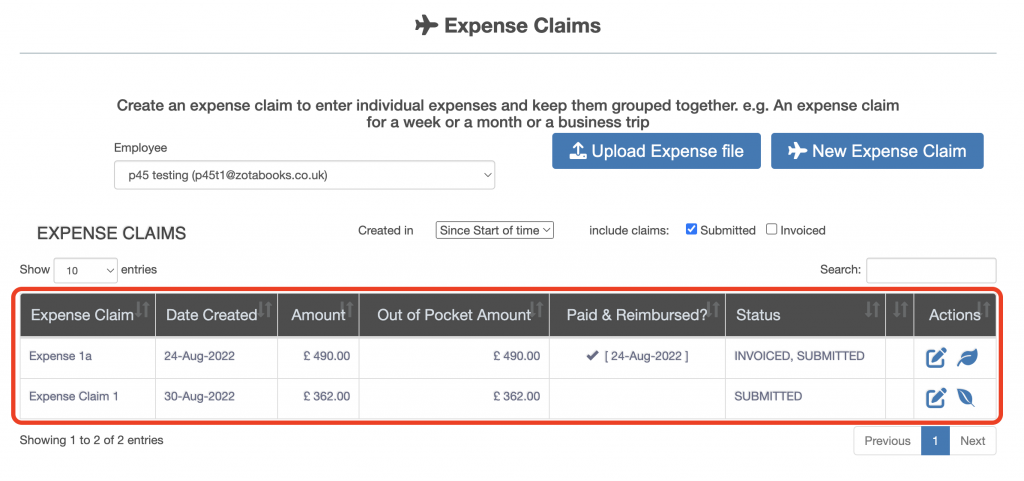
Expenses which are to be paid and have been paid are displayed.
The expense claim can be identified as paid or not paid to the employee as follows:
- where the “Paid & Reimbursed?” column gives the date when the expense claim was paid to the employee.
- where the “Paid & Reimbursed?” column is empty the expense claim has not been paid to the employee.
The following icons under the column titled “Action” enable the expense claim to be paid or for the payment to be reversed:
Pay Expense Claim
Marks the expense claim as paid to the employee.
Cancel Expense Claim Paid
Marks the expense claim as not paid to the employee (reverses the mark as paid).
Click on the “Pay Expense Claim” icon under the action header to mark the expense claim as paid to the employee. Click on the “Cancel Expense Claim Paid” icon under the action header to mark the expense claim as not paid to the employee.